September 10, 2026
Yes, learning music online genuinely works for young children, with one condition: the lesson has to be live and one to one.


The layer by layer method, explained the way a patient teacher would explain it to a nine year old.
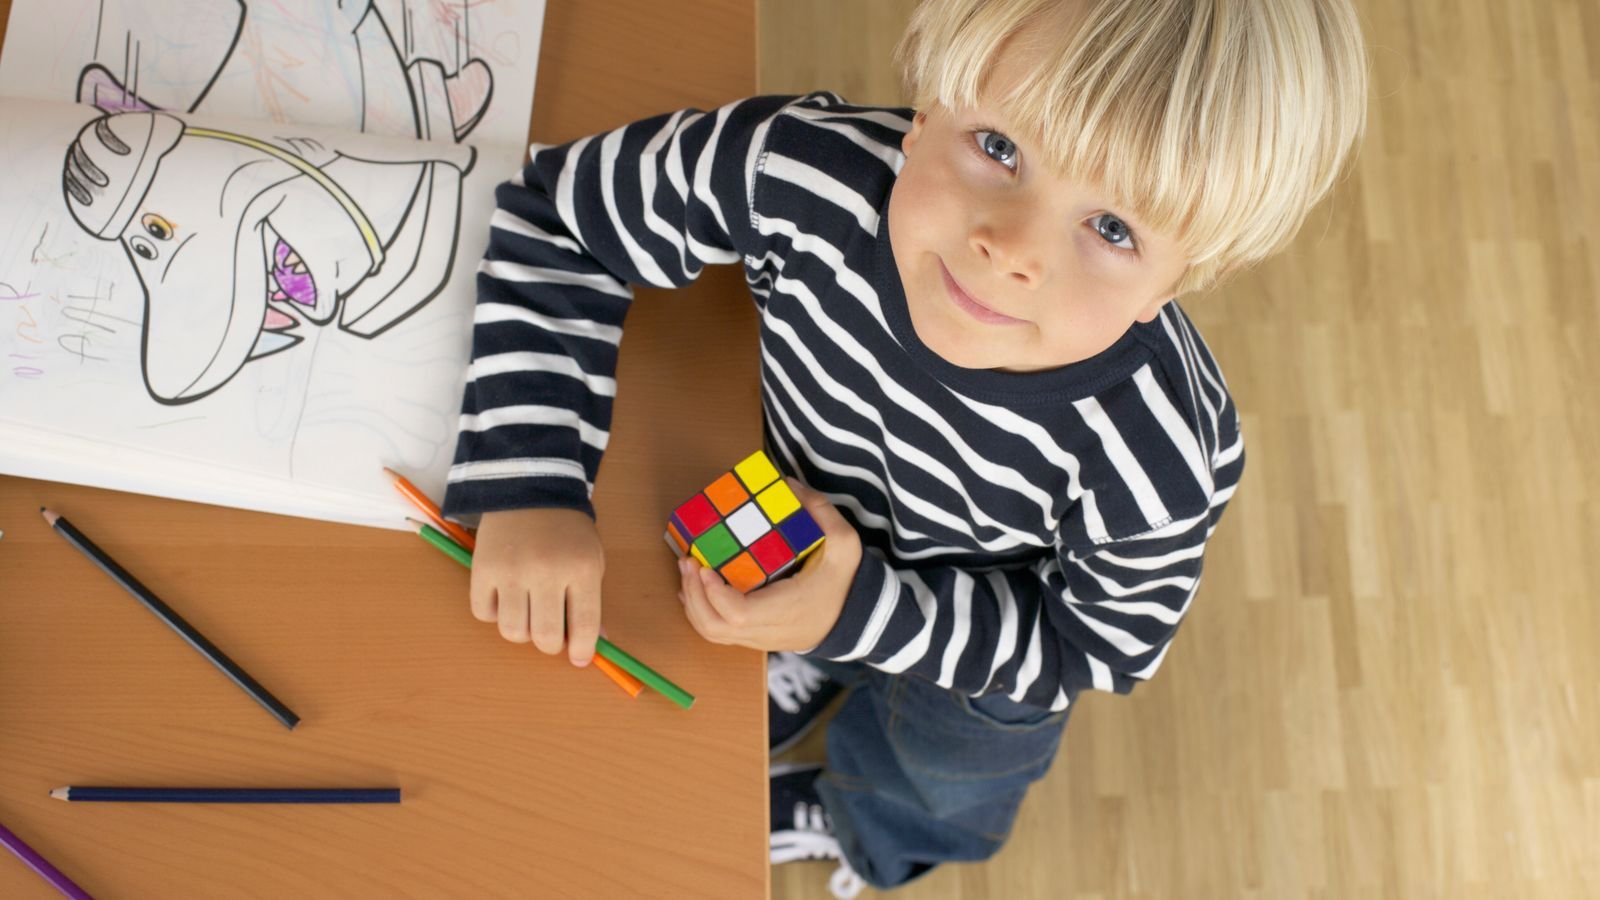
Almost every child who picks up a Rubik’s cube tries the same doomed strategy first: fixing one colour at a time and hoping the rest sorts itself out. It never does, because every turn that fixes one piece disturbs seven others. The moment a child learns that the cube is solved in layers, not in colours, the whole puzzle changes from impossible to simply a matter of practice.
Here is the beginner method, written so a parent can read it aloud and a child can follow along with a cube in their hands.
You solve a Rubik’s cube by finishing one horizontal layer at a time, from the bottom up, using a handful of memorised move sequences. The standard beginner route is five stages: make a white cross, put in the four white corners to finish the bottom layer, fill in the four middle layer edges, make a yellow cross on top, and then finish the last layer. That is the whole method. Everything below is just detail.
One thing worth telling your child straight away, because it takes the pressure off: the centre piece of each face never moves. The white centre is always the white face, whatever the rest of the cube looks like. Those six centres are your fixed landmarks, and the cube is really a puzzle about moving the twenty other pieces around them.
Before any solving, spend ten minutes learning six letters, because every guide, video and teacher in the world uses them. Hold the cube still with one face towards you. R means turn the right face clockwise. L is the left face, U the top, D the bottom, F the front and B the back. A letter with an apostrophe, such as R’, means turn that face the other way. A letter followed by 2, such as U2, means turn it twice.
The word “clockwise” here means as if you were looking straight at that face. This confuses almost every beginner once, so practise it deliberately: say “R” out loud and do it, then “R prime” and undo it, twenty times. Children who skip this step spend the next fortnight guessing, and children who spend ten minutes on it can follow any instructions from that day onwards.
The first goal is a white cross on the white face, with each arm matching the colour of the side it touches. Start by finding the four white edge pieces, meaning the pieces with exactly two stickers, one of which is white. Bring each one up to the yellow face first so that white points upwards, which makes a yellow face with a white daisy shape on it. This daisy stage is much easier for children than trying to build the cross directly.
Once you have the daisy, take one petal at a time. Turn the top face until that petal’s other colour, on its side sticker, sits directly above the matching centre. Then turn that whole face twice, so the white sticker travels down to the white side. Repeat for the other three petals. You now have a white cross with matching sides, which cubers call a solved cross.
Next, slot in the four white corner pieces so the entire white layer is complete. Hold the cube with white on the bottom. Find a corner piece in the top layer that has a white sticker, and turn the top face until that corner sits directly above the gap where it belongs, matching the two side colours below it.
Now repeat this short sequence until the corner drops into place correctly: R U R’ U’. Cubers call it the trigger, and children usually nickname it something of their own within a day. It may take two, four or six repetitions. That is normal and it is not a mistake. If a white corner is stuck in the bottom layer facing the wrong way, do the trigger once to pop it up to the top, then bring it back down properly. Finish all four and the first layer is done.
Six facts about the world’s best selling puzzle
A standard 3×3 cube has 43,252,003,274,489,856,000 possible positions. Only one of them is solved.
In 2010 researchers proved that every single one of those positions can be solved in twenty moves or fewer. Cubers call it God’s Number.
One famous scramble, where every edge is flipped, actually needs the full twenty moves. It was proved in 1995, fifteen years before the rest.
The fastest official competition solves now take around three seconds, and the world record average has dropped below four seconds.
In 2023 Yiheng Wang set a 3×3 world record average at the age of nine, and has broken his own records repeatedly since.
Ernő Rubik, an architecture professor, built the cube in 1974 and then reportedly spent about a month working out how to solve his own invention.
Now turn the cube over so the finished white layer is at the bottom and yellow is on top, and place the four middle layer edges. Look at the top layer for an edge piece with no yellow sticker on it. Turn the top face until that piece’s front colour matches the centre it sits above, so it makes a small upside down T shape.
Then check which way it needs to travel. If it needs to go down and to the right, use U R U’ R’ U’ F’ U F. If it needs to go down and to the left, use the mirror version: U’ L’ U L U F U’ F’. Repeat for all four edges. If a piece is already sitting in a middle slot but the wrong way round, run either sequence once to kick it out to the top, then put it back correctly. Two layers finished, one to go.
With two layers done, the next goal is a yellow cross on the top face, and one sequence handles every case: F R U R’ U’ F’. Look at the yellow stickers on the top face and you will see one of four patterns: a single dot, a small L shape, a straight line, or the finished cross.
If you see a line, hold it horizontally and run the sequence once to get the cross. If you see an L, hold it so the two yellow arms point up and to the left, run the sequence once and you get a line, then run it again for the cross. If you see only a dot, run the sequence and keep going. At this stage ignore the corners entirely, even though they will look wrong. You are only building the cross.
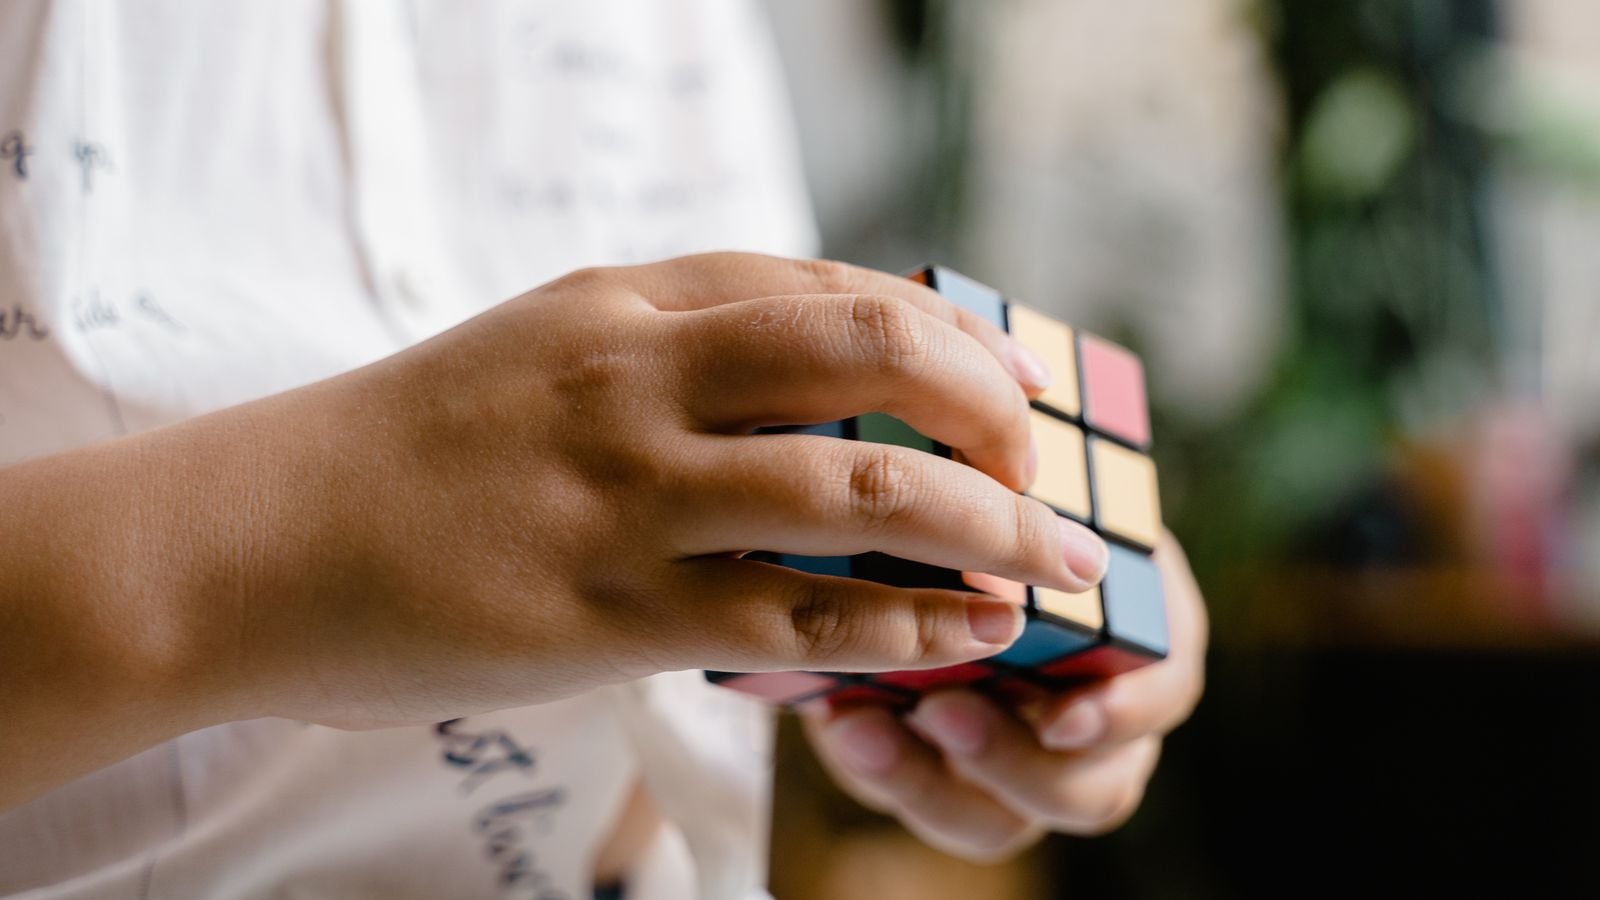
The final layer takes three short jobs: turn the yellow corners the right way up, move those corners to their correct places, and finally place the last edges. Start with the corners facing up. Hold the cube so a corner with yellow not yet on top sits at the front right, then repeat R U R’ U R U2 R’ until that one corner shows yellow on top. Then, turning only the top face, bring the next unfinished corner to the front right and repeat. The cube will look scrambled while you do this. Trust the process, because it comes back together once all four are done.
Next, position the corners. Look for one corner already in the right spot, meaning its three colours match the three faces around it, hold that one at the back right, and run U R U’ L’ U R’ U’ L until they are all correct. Finally, place the remaining edges with R U’ R U R U R U’ R’ U’ R2, repeating and re-examining between attempts. When the last edge clicks into place, the cube is solved, and that first solve is a moment most children remember for years.
Most children aged eight and above manage their first full solve within two to four weeks of short daily practice, and many manage it faster with a teacher guiding them. Younger children, around six or seven, usually need longer and do best when the method is broken into one stage per week, with plenty of celebration at each stage rather than a rush to the end.
Speed comes later and it comes quickly. A child who can solve the cube at all will typically be under three minutes within a month, and under a minute within a few months of regular practice. For perspective on where the ceiling sits, the official speedcubing world records are now measured in a handful of seconds, and mathematicians have proved through the work published at cube20.org that no scramble ever needs more than twenty moves.
Almost every beginner struggle traces back to one of five things, and all five are quick to fix. The most common is turning the wrong face because “clockwise” was judged from the wrong viewpoint, which is solved by ten minutes of deliberate notation practice. The second is rotating the whole cube in the middle of a sequence, which quietly changes what R and F mean. Teach your child to keep the cube still, like a steering wheel, until the sequence is finished.
The third is abandoning a sequence halfway because the cube looks worse, when looking worse is exactly what is supposed to happen in the middle. The fourth is skipping the notation stage entirely, which makes every future guide harder to use. The fifth is practising in long frustrated sessions rather than short cheerful ones. Fifteen minutes a day beats two hours on a Sunday, both for the cube and for how your child feels about it.
Seven things you can try at home this week
Buy a decent speed cube. A cheap stiff cube that catches on every turn makes children think they are the problem. A smooth budget speed cube costs very little and changes the whole experience.
Learn one stage a week. White cross this week, white corners next week. Finishing a stage feels like winning, and a child who feels they are winning keeps going.
Practise the trigger while watching television. R U R’ U’ done a hundred times becomes muscle memory, and muscle memory is what makes the later stages feel easy.
Say the moves out loud. Reading a sequence aloud while doing it cuts mistakes dramatically, because the hands and the eyes stop disagreeing.
Keep a solve time notebook. Write down the time for one solve a day. Watching a personal record fall is more motivating for most children than any prize.
Scramble properly. Twenty random turns, eyes closed. Half solved cubes teach nothing, and a proper scramble makes the solve feel earned.
Let them teach you. Ask your child to teach you the white cross. Explaining a method is the fastest way to discover which parts they have not really understood.
Two reveals. Try the hint before the answer.
A 3×3 Rubik’s cube looks like it is built from 27 little cubes stacked in a 3 by 3 by 3 block. How many of those little cubes can you actually see, and what happened to the rest?
Tap a question to reveal the answer
The first solve is the beginning, not the end, and the weeks straight afterwards are where the real benefit sits. Children who keep going start to notice patterns faster, plan two or three moves ahead, and recover calmly when something goes wrong, and those habits show up in schoolwork long before they show up in solve times. From here a child can chase a personal best, learn to solve one handed, try a 2×2 or 4×4 cube, or start learning the faster intermediate method.
If your child gets stuck at a particular stage, and most do at the middle layer or the last layer, a live teacher watching their hands will usually spot the problem in one class. That is exactly why our Rubik’s cube classes are 1 on 1 rather than recorded. You can try a free trial class with a MasterMindz tutor and see how far your child gets in one sitting.
MasterMindz teaches children worldwide through live, personal 1 on 1 online classes in the Rubik’s cube, chess, maths, coding, music and languages. We have taught 750+ students across 11+ countries, and every family starts with a free trial class.